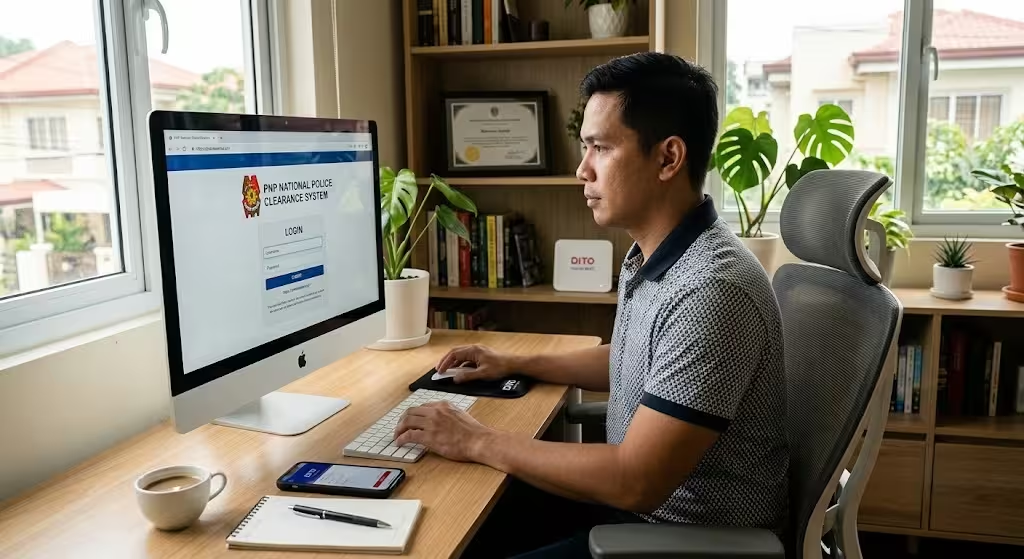
PNP Clearance Login Guide
Need to log in to your PNP Clearance account? Whether you’re applying for the first time, renewing your clearance, or checking your appointment details, the Philippine National Police (PNP) has made the process more convenient through its online National Police Clearance System.
Complete guide: Police Clearance
This guide explains how to log in to the PNP Clearance portal, register a new account, update your profile, schedule an appointment, pay the clearance fee, and solve common login issues. If you’re applying for employment, travel, government transactions, or other official purposes, this step-by-step walkthrough will help you complete the process smoothly.
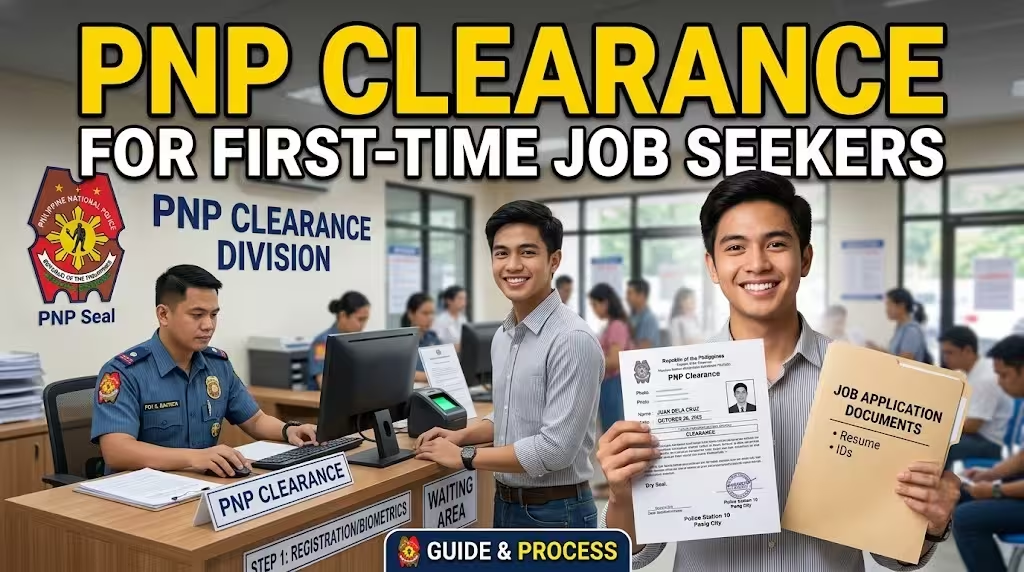
Latest Content: PNP Clearance for First-Time Job Seekers
PNP Clearance Login at a Glance
| Feature | Details |
|---|---|
| Service | National Police Clearance System |
| Login Method | Registered Email Address & Password |
| Registration | Online with Email Verification |
| Appointment Required | Yes |
| Payment Options | LandBank, GCash, Maya |
| Clearance Processing | Selected Police Station |
What Is the PNP Clearance Login Portal?
The PNP Clearance Login Portal is the official online platform where applicants can access the National Police Clearance System. After creating an account, users can manage their personal profile, book appointments, pay clearance fees, and monitor their application.
The portal is designed to reduce walk-in transactions and simplify the clearance application process by allowing applicants to complete most steps online before visiting their selected police station.
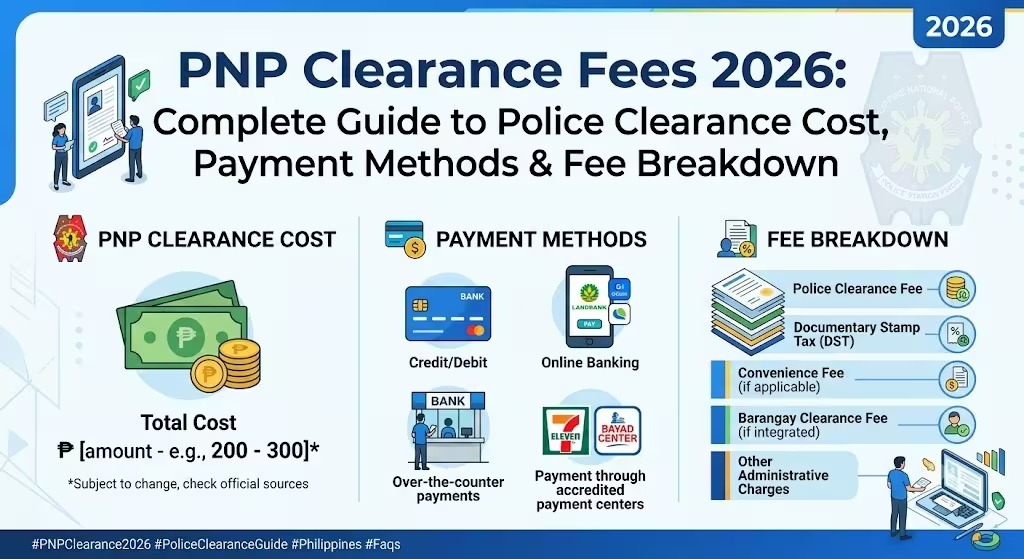
More: PNP Clearance Fees
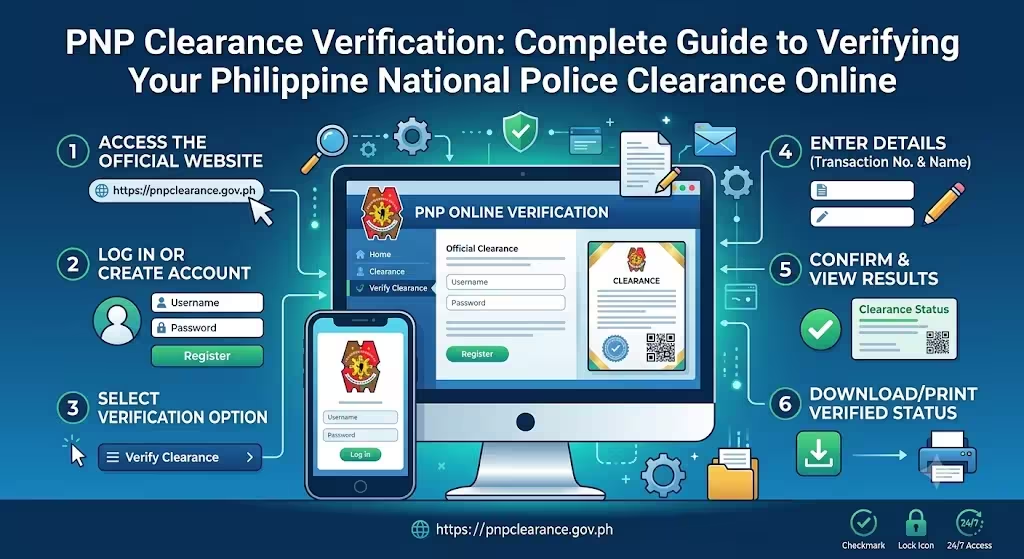
How to Log In to Your PNP Clearance Account
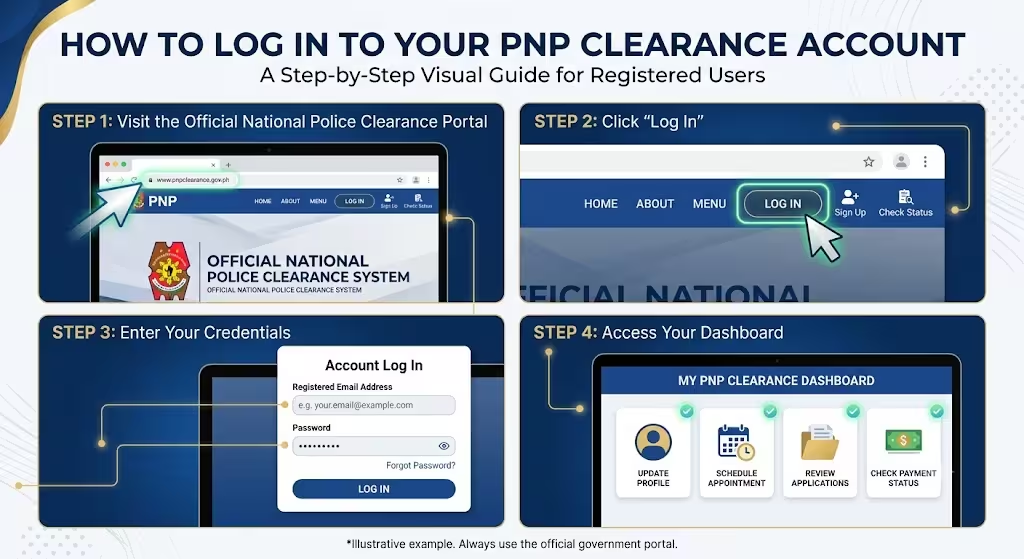
Logging in only takes a few minutes if you’ve already created an account.
Step 1: Visit the Official National Police Clearance Portal
Open the official National Police Clearance website using a secure browser.
Step 2: Click “Log In”
On the homepage, select the Log In button.
Step 3: Enter Your Credentials
Provide:
- Registered email address
- Password
Double-check for typing errors before submitting.
Step 4: Access Your Dashboard
Once authenticated, you’ll be redirected to your account dashboard, where you can:
- Update your profile
- Schedule appointments
- Review existing applications
- Check payment status
- Print appointment details
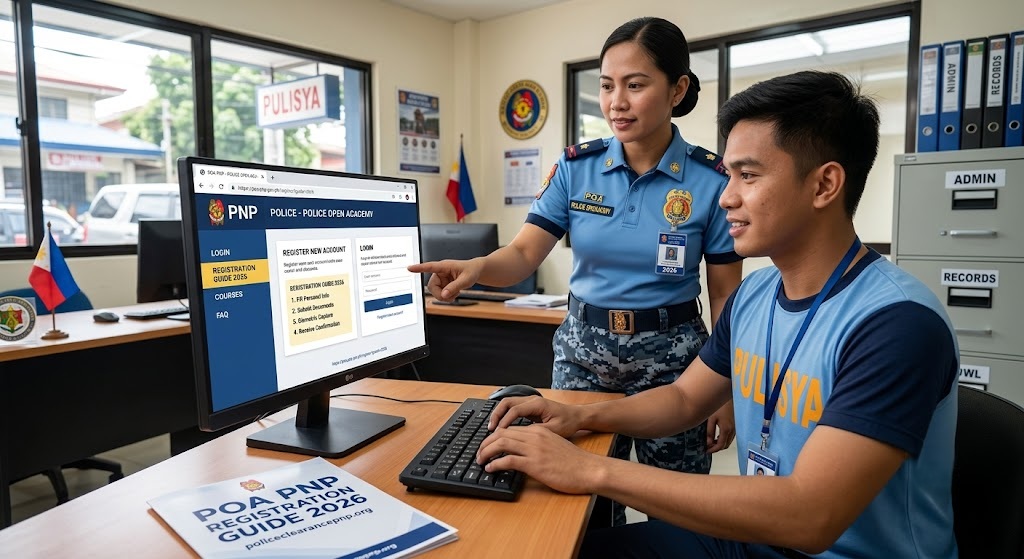
More Logins – POA PNP Login and Registration Guide
How to Register for a New PNP Clearance Account
If you’re a first-time applicant, you’ll need to create an account before logging in.
Complete Your Registration
Prepare the following information:
- Full name
- Date of birth
- Mobile number
- Valid email address
- Password
After submitting the registration form, check your email inbox and click the verification link to activate your account.
Once verified, return to the login page and sign in using your registered email and password.
Updating Your Personal Profile
Before scheduling an appointment, ensure your profile information is complete and accurate.
Information to Review
- Full legal name
- Date of birth
- Gender
- Address
- Mobile number
- Civil status
- Nationality
Always verify your details carefully. Incorrect information may delay your application or require corrections during your appointment.
How to Schedule a PNP Clearance Appointment
Booking an appointment online helps minimize waiting time at the police station.
Select Your Clearance Purpose
Choose the reason for requesting a police clearance, such as:
- Employment
- Local job application
- Overseas employment
- Government requirements
- Business permits
- Personal documentation
Selecting the correct purpose helps ensure your clearance meets the requirements of the requesting organization.
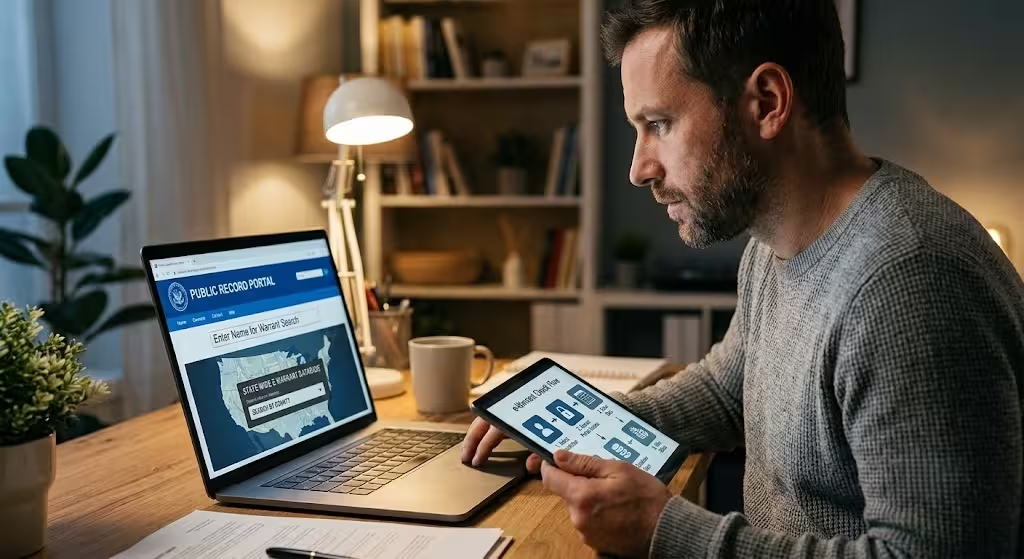
Related: How to Check for Outstanding Warrants Online
Choose Your Preferred Police Station
The portal allows you to select from participating police stations.
When choosing a location, consider:
- Distance from your residence
- Appointment availability
- Preferred schedule
Pick Your Appointment Date
Available dates and time slots are displayed in the system.
Select the most convenient schedule and confirm your booking.
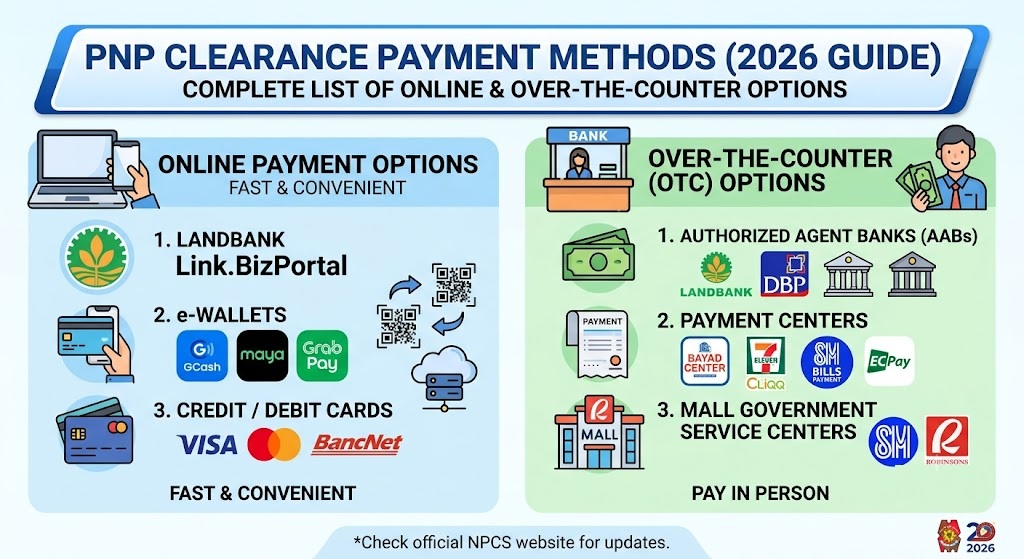
How to Pay the PNP Clearance Fee
After confirming your appointment, proceed with payment using one of the supported channels.
Available Payment Methods
- LandBank
- GCash
- Maya
After completing payment:
- Save your payment reference number.
- Keep your digital receipt or screenshot.
- Wait for payment confirmation before your appointment.
Retaining proof of payment can help resolve issues if payment verification is delayed.
What to Bring on Your Appointment Day
To help your visit go smoothly, bring the following:
- Valid government-issued ID
- Appointment confirmation
- Payment reference number or receipt
- Additional documents if required for your specific purpose
Arriving early gives you enough time for identity verification, biometrics, and document processing.
Common PNP Clearance Login Problems and Solutions
Even with a straightforward system, some users may encounter login issues.
Forgot Your Password
If you cannot remember your password:
- Select Forgot Password on the login page.
- Enter your registered email address.
- Follow the password reset instructions sent to your email.
- Create a new secure password.
Didn’t Receive the Verification Email
Check:
- Spam folder
- Junk folder
- Promotions folder
If the email still hasn’t arrived, verify that the email address entered during registration is correct before requesting another verification email.
Incorrect Email or Password
Common causes include:
- Typographical errors
- Incorrect capitalization
- Using an unregistered email address
Re-enter your credentials carefully before attempting another login.
Tips for a Smooth PNP Clearance Application
Following these practical steps can help avoid unnecessary delays:
Use an Active Email Address
Your email is required for:
- Registration
- Verification
- Password recovery
- Appointment notifications
Keep Your Contact Information Updated
If your mobile number or address changes, update your profile before booking another appointment.
Save Important Records
Keep copies of:
- Appointment confirmation
- Payment receipt
- Reference number
- Email notifications
These documents may be useful if you need to verify your application.
Is the PNP Clearance Login Portal Secure?
The National Police Clearance System requires account authentication through your registered email address and password before granting access to your personal information.
To help protect your account:
- Use a strong password.
- Avoid sharing your login credentials.
- Access the portal only through the official website.
- Log out after using a shared or public computer.
These basic security practices reduce the risk of unauthorized account access.
Benefits of Using the Online PNP Clearance Portal
Using the online system offers several advantages over traditional walk-in applications.
Faster Application Process
Most information can be completed before visiting the police station.
Convenient Appointment Scheduling
Applicants can select available dates that fit their schedule.
Multiple Digital Payment Options
Electronic payment channels make fee collection more convenient.
Easier Profile Management
Applicants can review and update personal information whenever needed before submitting new applications.
Frequently Asked Questions – PNP Clearance
Final Thoughts : PNP Clearance Login Portal
The PNP Clearance Login Portal makes it easier for applicants across the Philippines to manage their National Police Clearance applications online. From account registration and secure login to appointment scheduling and digital payments, the system streamlines the process while reducing unnecessary trips to the police station.
To avoid delays, ensure your profile details are accurate, complete the required email verification, keep your payment reference, and arrive at your appointment with the necessary identification and documents. Following these steps will help make your clearance application more efficient and hassle-free.